Wednesday, 16 April 2014
Tuesday, 15 April 2014
Monday, 14 April 2014
Sunday, 13 April 2014
Construction and Edge Finish Sampling
Seam Construction
Once I had chosen fabrics to toile my garments with, I wanted to test out the new technologies to see if I could use them to construct my garments with, especially the top.
Using the Ultrasew to weld a seam in the chiffon created a very fine seam that was very neat. This seam was quite rough though due to the melting of the fabric, so it would cause abrasion against the skin. This seam could then be covered using the hot taping machine; however, this would add weight to the fabric and spoil the overall appearance of the garment that I'm trying to achieve.
The Ultrasonic Welder created this decorative feature that looks like a stitch. Even though this technique appears to be nice, the construction of this seam wasn't very strong as you can see from the picture below.
I used a different decorative wheel to see what it would look like on the fabric, but unfortunately the welder caused the seam to break quite easily, due to the fabric being very fine.
I experimented with the bonding machines to create this seam. This technique creates an almost invisible seam, however, it made the chiffon very stiff which would spoil the look im going for and might be uncomfortable for the consumer.
These technologies would have been tested on calico, but because it's a natural fibre, it can not be manipulated by these news technologies.
I experimented with a traditional 301 lock stitch machine and created a french seam. This seam provided a suitable finish, hiding the raw edges and protecting them to avoid fraying of the chiffon. This seam is barely visible with this type of fabric.
Edge Finish
I experimented with the bonding machine, to see if I could finish off the arm holes, neckline and hem of the top. The bonding machine created a nice finish and worked well with the calico, but due to the nature of the chiffon, it was too heavy for the fabric.
I experimented with pre-made bias binding and a 301 lock stitch machine with binding tool attached. This technique was very quick and easy to produce, creating a clean finish for the calico and chiffon.
Detail
By using the gathering foot attached to a 301 lock stitch machine, it helped gather up the fabric, stitching it in place. This technique was tested on calico, to see if it would work to help construct the dress.
Fasterning
After looking at different types of zips, I decided to still use an invisible zip as intended. Since the dress is designed to be an evening gown or cocktail dress, it seems more suitable to have an zip thats barely visible so it doesn't point the appearance of the dress.
Saturday, 12 April 2014
Pattern Construction of Top
Wanted to get rid of the dart at the waist line, to create a unfitted style, so I deleted the dart point and combine/merged the line.
I wanted the fullness of the top mainly in the side seam, to create this boxy style, so I used the tapered fullness seam adding 3.22cm.
Folded and closed the dart
Adjusted the back piece in a similar way, deleting the dart point.
Combine/merge the line.
Using the tapered fullness tool to add 3.22cm fullness to the back piece.
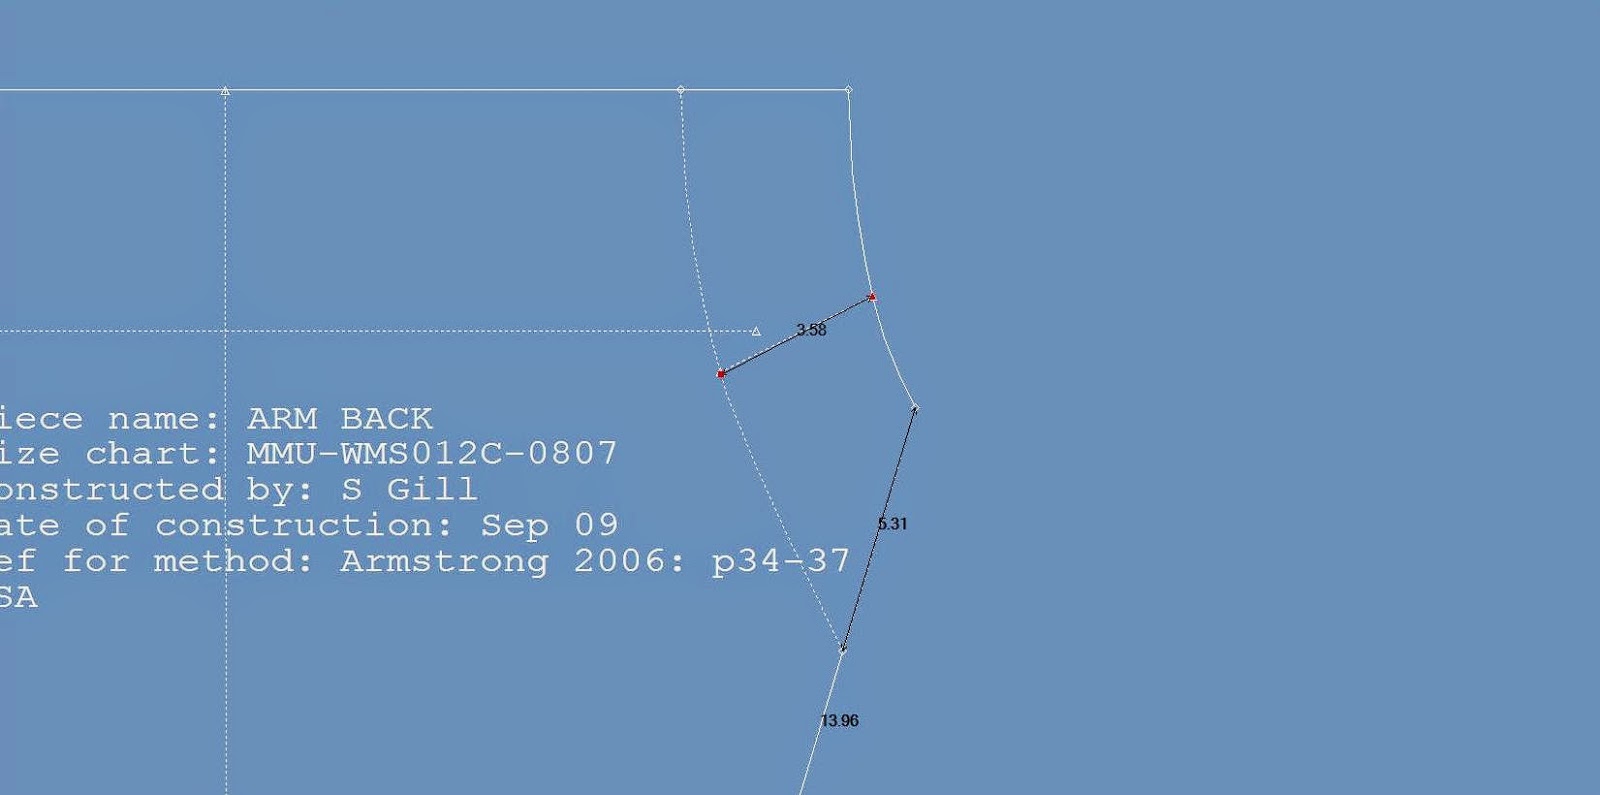
To get rid of the dart out the back shoulder, the armhole needs to be adjusted.
Move smooth vertical line tool to add a few mm to the tip of shoulder at arm hole. Using the rotate dart tool, 0.33cm of the dart was rotated into the arm hole. The point of the dart was then deleting and then the lines were combined and merged. Then at the shoulder line, the line was deleted where the dart was previously, to straighten it.
Adding length to the top by using the move offset, adding 10cm.
Then add same to the back.
The sides of the top were measured, and then using the digitised line to create the panels. Instead of incorporating the dart into the panels, I used the dart shape as part of the line panels; this meant the chest would be fitted and show clean panels without a dart being stitch in.
Using the trace tool to trace off the pattern pieces.
Added a 1cm seam allowance and then renamed the pieces accordingly.
Friday, 11 April 2014
Developing Pattern of Top
When testing out my top pattern that I created on Gerber, I realised my panel seams didn't match up and needed to be readjusted. I thought the neck line was too high, so I draw on my toile where I wanted it to sit and measured how much needed to be taken off. I also wanted the top to have more fullness in the bottom of the top, to give it a nicer style and shape.
Thursday, 10 April 2014
Finishing off Pattern of Box Top
I had to re-measure the back and front panel piece, working out the exact measurement of how far down the piece the panel lines needed to be drawn. I had to zoom in quite close so I could pin down the line to just the right measurement.
I traced off the bottom panels, as this was where I wanted most of the fullness. I used the fullness tool and added 3cm to the side seams.
To change the neckline and lower the shape, I first chose to use the offset even tool, taking away 3.5cm front the front and back panels. Even though this appeared to work, when I toiled up the chest panel, the shoulder seams didn't match up.
I realised that the offset even tool had take too much off the neck line at the shoulder seam because the shoulder seam slopes.
Therefore, I used digitized lines and measuring as I go to reposition the neck line. I finished off the neckline shape using a 2 point curve to take away a perfect 3.5cm round the entire neckline.
The panels were retraced off with the new adjustments and 1cm seam allowance added.
Subscribe to:
Posts (Atom)